Adding a roof rack opens up handy cargo space for transporting outdoor gear, luggage, and oversized items on your car. However finding a qualified installation service you can trust can be confusing. This guide will overview the steps for getting a roof rack installed properly from start to finish – from measuring your vehicle and selecting rack components to picking professional installation services or DIY rack mounting. Follow these tips to determine the best roof rack solution for your needs and budget.
| Installation Option | Overview | Cost |
|---|---|---|
| Auto Body Shop | Experienced with exterior fittings and roof work. May offer rack sales too. | $150-$300 |
| Specialty Rack Retailer | Sales expertise guides product selection. Often provide install services. | $200-$400 |
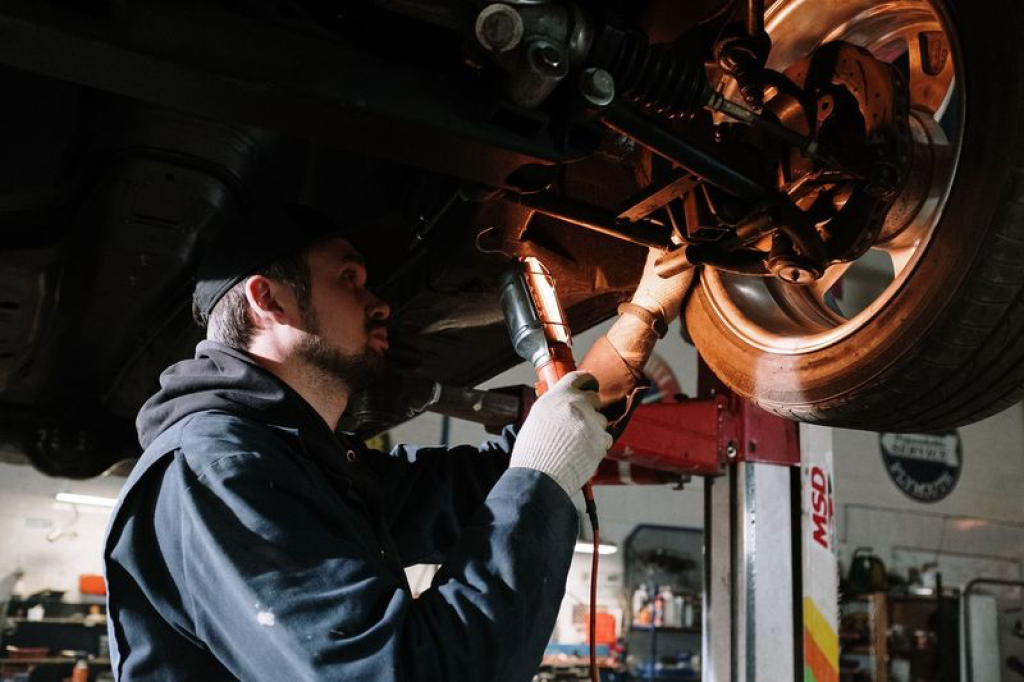
| Mechanic | Independent shops may install customer-provided racks if equipped. | $100-$250 |
| Dealership | May install brand-specific OEM roof racks, but likely at a premium. | $250-$450+ |
| Mobile Installer | Traveling technicians come to your home/work to install racks. | $175-$350 |
| DIY | Purchase racks online and install yourself. Requires tools and know-how. | $50-$150 for supplies |
Should I Install the Rack Myself or Use a Pro?
Installing a roof rack is doable as a DIY project if you have basic mechanical skills and proper tools. But for many, using a professional installation service is worth the cost for proper fitting, torque specifications, and peace of mind that the rack is securely mounted.
DIY Rack Installation
Pros
- Less expensive option
- Convenient at-home installation
- Greater selection of rack types/brands
Cons
- Requires mechanical skill
- Finding accurate torque specs difficult
- Risk of incorrect fit or leaks
Professional Installation
Pros
- Proper sizing, fit, and torque
- Expertise for complex installations
- Warranty protection through installer
Cons
- Added cost of installation
- Inconvenience of shop visit
- May have fewer rack selections
“We recommend using professional installation unless you are very handy mechanically. The cost is well worth it for the peace of mind and warranty protection.” – Brad Revel, Rack Outfitters
If your roof rack requires drilling holes into the roof or integrating with an electrical system, it’s wise to use professional services. But simpler clamp-based racks can be DIY’ed with care and attention to the instructions.
How Much Does Roof Rack Installation Cost?
You can expect to pay $150 to $300+ for professional roof rack installation:
Here are average price ranges:
- Basic crossbar install – $150-$200
- Cargo basket install – $180-$250
- Cargo box install – $220-$300
- Kayak/bike rack install – $180-$280
- Multi-item rack system – $250-$400+
Scope of labor and shop fees impact costs. Multi-item setups with electrical wiring or drilling will be pricier. Simple crossbar or basket mounting is quicker and cheaper. Always get an itemized quote so you know exactly what is covered.
Key Steps to Installing a Roof Rack
Proper roof rack installation involves careful measurement, component selection, methodical assembly, and torque specs for optimal performance and safety.
1. Measure Vehicle Roof
- Length at front and rear
- Width at roof sides
- Lowest garage clearance
- Distance between factory rails/tracks
This ensures ordering the properly sized rack and components. Even small measurement differences matter for fit.
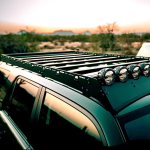
2. Select Rack System
Refer to roof rack types and styles to choose the right setup for your needs.
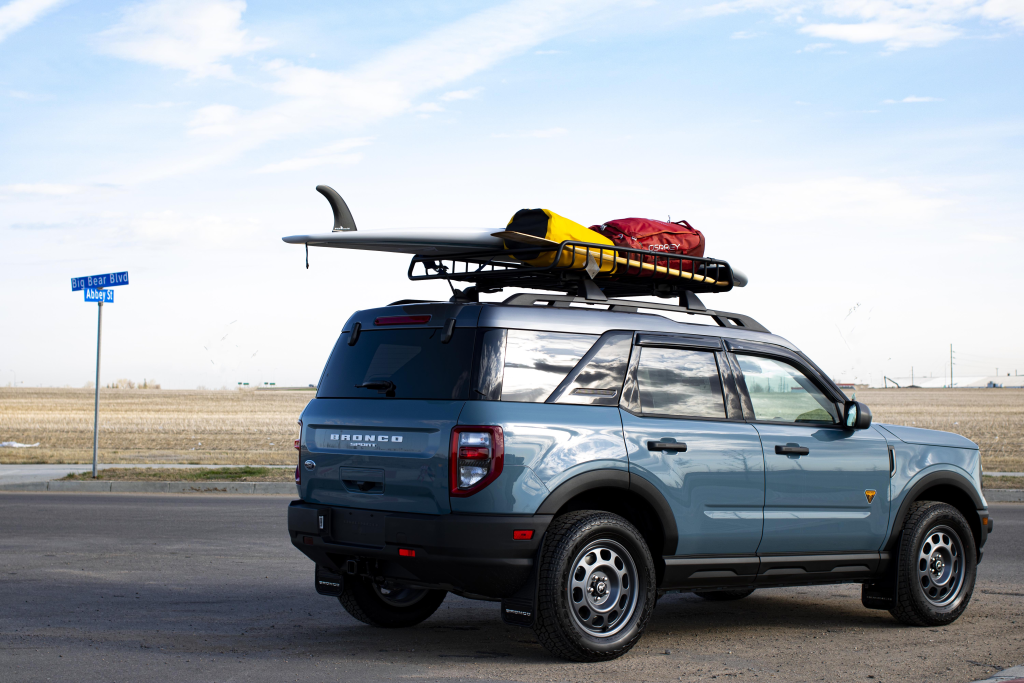
- Crossbars
- Cargo baskets
- Cargo boxes
- Watersport racks
- Ski/snowboard racks
3. Choose Mount Style
Determine whether you need a crossbar mount or factory rail mount base.
- Crossbar mount uses towers/clips bolted to the roof
- Rail mount uses adapters for factory tracks/rails
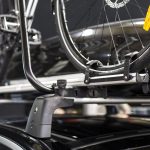
4. Assemble Rack Components
- Attach base crossbars or rail adapters
- Add cargo baskets, boxes, bike mounts, etc.
- Tighten bolts gradually using torque wrench
Follow instructions precisely. Improper assembly risks rack failure and roof damage.
5. Securely Mount Rack
- Ensure roof is clean and free of debris
- Position towers evenly to balance weight
- Tighten bolts to vehicle manual torque specs
- Seal bolts with protectant to prevent rust
This critical step ensures the rack stays firmly attached. Never exceed torque limits which can crack the roof.
6. Test and Inspect
Before hitting the road, check for:
- Even bar spacing and leveling
- Tight bolt connections with no gaps
- Proper operation of locks and accessories
- No rack movement or vibration
Carefully inspect the rack install inside and out to confirm proper fit and security.
“Taking the time to properly install and inspect a roof rack gives you confidence in loading up gear and hitting the road safely.” – Mike Simons, Simons Auto Body
Where to Buy Roof Racks
Once you know the right roof rack components for your vehicle, there are several places to purchase:
- Online – Large selection of brands/styles, discounted prices
- Big box stores – Limited selection but convenient
- Specialty shops – Expert guidance, roof measurement
- Dealerships – For brand-specific OEM racks
I recommend visiting a specialty roof rack shop if possible to get measured and see products in person. Many also offer on-site installation services. Big box stores like Walmart have budget rack options but less selection and guidance.
DIY Roof Rack Installation Tips
If going the DIY route, use these tips for proper installation:
- Use soft mat under roof to avoid scratches
- Follow vehicle-specific directions precisely
- Gradually tighten bolts in crossing pattern
- Use torque wrench to specs in manual
- Apply protectant grease on mounting hardware
- Check rack security after initial drive
Never use power tools for final bolt tightening to avoid over-torqueing. And don’t rely solely on the included instructions – always consult your vehicle owner’s manual as the ultimate guide for your specific make and model.
Finding Professional Installers
For those opting for pro installation, you can use:
- Local auto body shops – Call around to find shops experienced with racks.
- Specialty rack shops – Stores like REI often include install with purchase.
- Mechanics – Some independent mechanics will install customer-supplied racks.
- Mobile installers – Traveling techs like Briv.com who come to your home/work.
I recommend finding an experienced rack installer versus general mechanics to ensure proper roof preparation and use of torque tools. An auto body shop that does insurance claim work is also qualified for any roof drilling or electrical wiring needs.
And don’t forget to ask installers about any warranty protection they provide if you run into issues. This gives protection if rack parts fail or leaks develop.
Maintenance for Installed Racks
Once your new rack is professionally mounted or DIY’ed, be sure to:
- Inspect bolts/mounts periodically for looseness
- Check plastic parts for cracks from sun/weathering
- Keep roof underneath clear of debris and grit
- Rinse racks after beach trips to prevent rust
- Avoid touching car washes with mounted rack
Monitor your rack for abnormal noises, vibration or winding resistance which could indicate loose components. Periodic checks ensure your rack provides years of service.
Hit the Open Road
A properly selected and installed roof rack lets you transport gear in total confidence. Determining the expertise needed for mounting, accurate measurements, torque specs, and inspecting the final install prevents headaches down the road. So take the time to research, measure twice, and consult experienced installers or DIY with care. Your journey with more cargo room awaits!