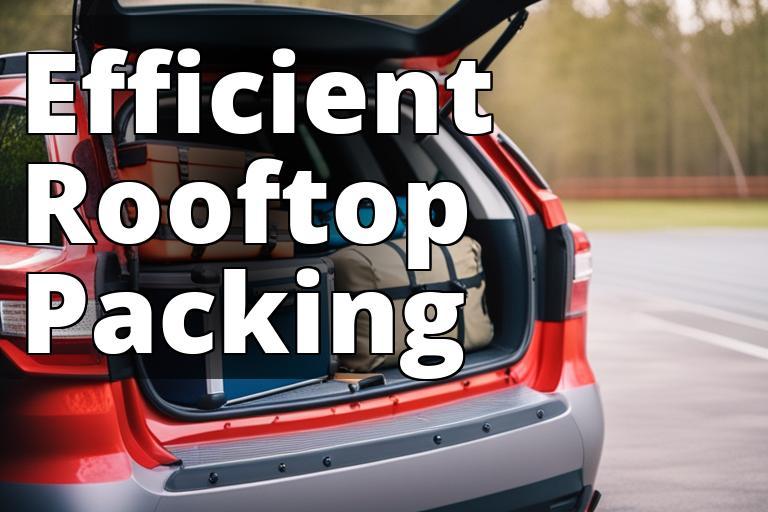
Are you planning a camping trip but struggling to fit all your gear in your car? A rooftop cargo box can be a lifesaver! In this ultimate guide, we’ll discuss the best practices for packing a rooftop cargo box for your next camping adventure.
What you need to know about packing a rooftop cargo box for camping
- Why using a rooftop cargo box is beneficial for camping
- How to choose the right rooftop cargo box and prepare your gear
- Tips for loading, securing, and checking the box, as well as unpacking and maintaining it safely

Why Use a Rooftop Cargo Box for Camping
Benefits of Using a Rooftop Cargo Box for Camping
A rooftop cargo box is an excellent addition to any camping trip because it allows you to take all the gear you need without sacrificing space in your car. With a rooftop cargo box, you can pack your camping gear out of the way and keep your car free for passengers, pets, and other essentials.
The Importance of Proper Packing
While a rooftop cargo box can hold a lot of gear, it’s crucial to pack it correctly to ensure safety on the road. Properly packed cargo boxes will not only keep your gear organized but also prevent it from shifting around while you’re driving.
Choosing the Right Rooftop Cargo Box
Consider the Size and Shape of Your Vehicle and the Amount of Gear You Need to Pack
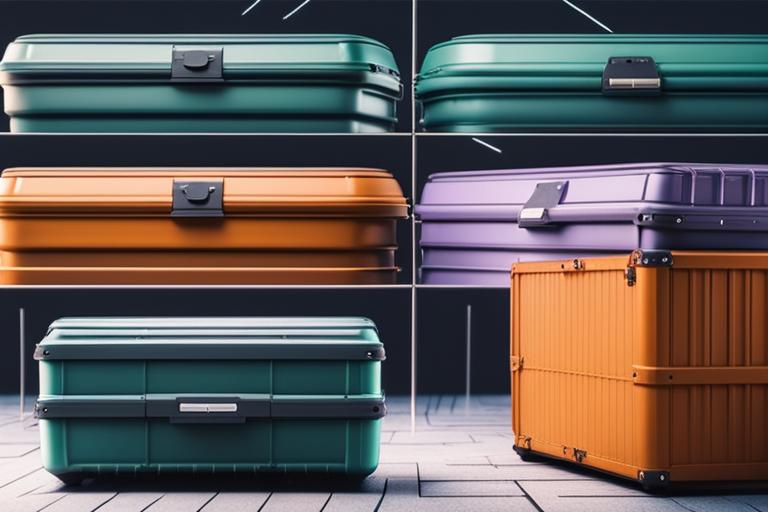
The first step in choosing the right rooftop cargo box is to consider the size and shape of your vehicle and the amount of gear you need to pack. You want to make sure that the cargo box is compatible with your vehicle and that it will fit all of your gear.
Check the Weight Capacity of the Cargo Box and Your Vehicle’s Weight Limit
It’s also essential to check the weight capacity of the cargo box and your vehicle’s weight limit. Overloading your cargo box or your vehicle can be dangerous on the road.
Choose a Cargo Box That’s Durable, Weather-Resistant, and Easy to Install
When choosing a cargo box, look for one that is durable, weather-resistant, and easy to install. You don’t want to spend hours installing your cargo box or worry about your gear getting wet during a rainstorm.
Decide on the Shape and Style That Suits Your Needs
Finally, decide on the shape and style of the cargo box that suits your needs. Some cargo boxes are long and narrow, while others are short and wide. Some are designed for specific types of gear, such as skis or bikes. Consider your needs and choose a cargo box that will fit your gear comfortably.
Preparing Your Gear
Make a List of Everything You Need to Bring, Including Camping Equipment, Clothing, Food, and Other Essentials
Before you start packing your gear, make a list of everything you need to bring. This includes camping equipment, clothing, food, and other essentials. By making a list, you can ensure that you don’t forget anything important.
Organize Your Gear into Categories and Pack Them in Separate Bags or Containers
Once you have your list, organize your gear into categories and pack them in separate bags or containers. This will make it easier to find what you need when you arrive at your campsite.
Label Each Bag or Container for Easy Identification
Label each bag or container for easy identification. This will help you quickly find what you need when you arrive at your campsite.
Determine What Gear Should Go in the Cargo Box
Finally, determine what gear should go in the cargo box. This will likely include heavy and bulky items such as tents, sleeping bags, and coolers.
Loading the Cargo Box
Start with the Heaviest and Bulkiest Items First, Such as Tents, Sleeping Bags, and Coolers
When loading the cargo box, start with the heaviest and bulkiest items first, such as tents, sleeping bags, and coolers. This will help distribute the weight evenly across the cargo box.
Pack Them in a Way That Distributes the Weight Evenly Across the Cargo Box
Pack your gear in a way that distributes the weight evenly across the cargo box. This will prevent the cargo box from becoming top-heavy and difficult to manage on the road.
Use Packing Cubes or Compression Bags to Save Space and Keep Your Gear Organized
Packing cubes or compression bags can be a great way to save space and keep your gear organized. These tools allow you to compress your gear into a smaller space, making it easier to fit everything into the cargo box.
Tips for Packing Specific Gear, Such as Camping Chairs and Stoves
When packing specific gear, such as camping chairs and stoves, it’s important to pack them in a way that prevents damage. Consider wrapping them in a blanket or towel to protect them during transport.
| Step | Description |
|---|---|
| 1 | Use straps or bungee cords to secure everything in place. |
| 2 | Tie down each item securely, so they don’t move around or fly out of the cargo box while you’re on the road. |
| 3 | Consider using a cargo net or cargo bag to keep smaller items from shifting. |
| 4 | When securing specific gear, such as bikes and kayaks, it’s important to use the right tools and techniques. Consider using specialized straps or racks designed for these items. |
Securing Your Gear
Use Straps or Bungee Cords to Secure Everything in Place
Use straps or bungee cords to secure everything in place. This will prevent your gear from shifting around while you’re driving.
Tie Down Each Item Securely, So They Don’t Move Around or Fly Out of the Cargo Box While You’re on the Road
Tie down each item securely, so they don’t move around or fly out of the cargo box while you’re on the road. This will ensure your safety and the safety of others on the road.
Consider Using a Cargo Net or Cargo Bag to Keep Smaller Items from Shifting
Consider using a cargo net or cargo bag to keep smaller items from shifting. This will prevent them from getting lost in the cargo box or bouncing around while you’re driving.
Tips for Securing Specific Gear, Such as Bikes and Kayaks
When securing specific gear, such as bikes and kayaks, it’s important to use the right tools and techniques. Consider using specialized straps or racks designed for these items.
Checking the Box
Double-Check to Make Sure Everything is Securely Fastened and the Cargo Box is Properly Locked
Before hitting the road, double-check to make sure everything is securely fastened, and the cargo box is properly locked. This will prevent your gear from flying out of the box while you’re driving.
Check That the Cargo Box Doesn’t Block Your View of the Road and That It Doesn’t Exceed the Weight Limit Allowed by Your Vehicle
Check that the cargo box doesn’t block your view of the road and that it doesn’t exceed the weight limit allowed by your vehicle. This will ensure your safety and the safety of others on the road.
Consider Using a Roof Rack or Crossbars for Added Stability
Consider using a roof rack or crossbars for added stability. These tools can help distribute the weight of the cargo box more evenly across your vehicle.
Tips for Driving with a Rooftop Cargo Box Attached
When driving with a rooftop cargo box attached, take your time and drive safely. Avoid high speeds and sudden maneuvers, as they can cause the cargo box to shift or tip over.
Unpacking
After Arriving at Your Camping Destination, Unload the Cargo Box Carefully, Starting with the Heaviest Items First
After arriving at your camping destination, unload the cargo box carefully, starting with the heaviest items first. This will prevent the cargo box from becoming top-heavy and difficult to manage.
Store Your Gear in a Safe and Organized Manner, So It’s Easy to Locate When You Need It
Store your gear in a safe and organized manner, so it’s easy to locate when you need it. This will save you time and frustration later on.
Use a Tarp or Groundsheet to Protect the Cargo Box from Dirt and Debris
Use a tarp or groundsheet to protect the cargo box from dirt and debris. This will extend the life of your cargo box and keep it looking like new.
Tips for Setting Up Camp with the Gear You’ve Packed
When setting up camp with the gear you’ve packed, have a plan in place. Consider creating a checklist or map of your campsite before you arrive.
Maintenance
After Your Camping Trip, Clean the Cargo Box and Store It Properly to Ensure Its Longevity
After your camping trip, clean the cargo box and store it properly to ensure its longevity. This will ensure that your cargo box is ready for your next camping adventure.
Regularly Inspect the Cargo Box for Wear and Tear, and Replace Any Damaged Parts Immediately
Regularly inspect the cargo box for wear and tear, and replace any damaged parts immediately. This will prevent further damage and ensure your safety on the road.
Store the Cargo Box in a Dry, Cool Place, Away from Direct Sunlight and Extreme Temperatures
Store the cargo box in a dry, cool place, away from direct sunlight and extreme temperatures. This will prevent damage from UV rays and other environmental factors.
Tips for Maintaining the Cargo Box and Prolonging Its Lifespan
To prolong the lifespan of your cargo box, consider using a protective coating or cover. You should also regularly inspect the cargo box for signs of wear and tear and address any issues as soon as possible.
Personal Experience: How Proper Packing Helped Us Enjoy Our Camping Trip
Last summer, my family and I went on a camping trip to a nearby state park for a long weekend. We had never used a rooftop cargo box before, but we decided to rent one to help us fit all of our gear in our SUV. We followed the steps outlined in this guide and were pleasantly surprised by how much easier it made our trip.
Before packing, we made a list of everything we needed to bring, and we organized our gear into categories. We chose a rooftop cargo box that was the right size for our vehicle and durable enough to protect our gear from the elements. We packed the heaviest and bulkiest items first, using packing cubes and compression bags to save space and keep our gear organized.
Once we were on the road, we noticed how much more room we had in the car, and the kids were able to stretch their legs and play games without feeling cramped. We also noticed that the cargo box didn’t block our view of the road and didn’t make any noise, even when we were driving on the highway.
When we arrived at the campsite, we unloaded the cargo box carefully, starting with the heaviest items first. We were able to set up camp quickly and easily because we knew exactly where everything was, thanks to the labels we had put on each bag or container.
Overall, using a rooftop cargo box helped us enjoy our camping trip more because we were more comfortable in the car, and we were able to bring everything we needed without feeling cramped or disorganized. We highly recommend following the tips outlined in this guide to ensure a successful camping trip.
Safety Tips
Drive with Caution When You Have a Rooftop Cargo Box Attached to Your Vehicle
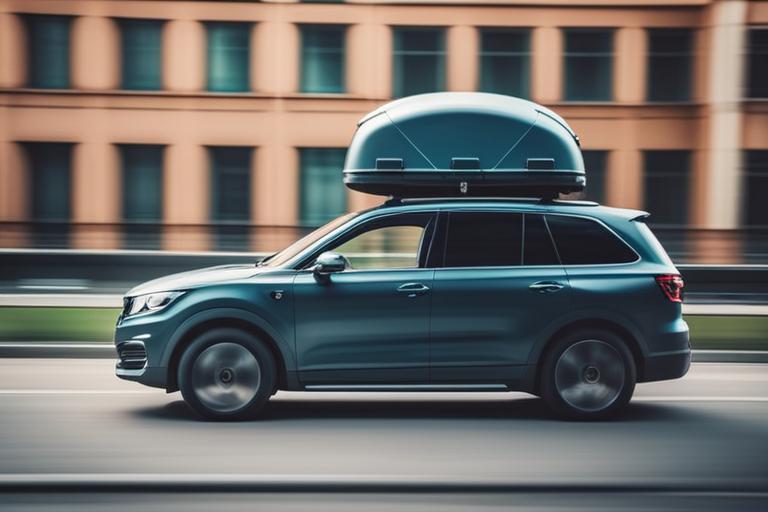
When driving with a rooftop cargo box attached to your vehicle, drive with caution. Avoid high speeds and sudden maneuvers that can cause the cargo box to shift or tip over.
Avoid High Speeds and Sudden Maneuvers, As They Can Cause the Cargo Box to Shift or Tip Over
Avoid high speeds and sudden maneuvers, as they can cause the cargo box to shift or tip over. This can be dangerous for you and other drivers on the road.
Watch out for Low-Clearance Areas, Such as Parking Garages and Drive-Thru Lanes, That May Not Accommodate a Vehicle with a Rooftop Cargo Box
Watch out for low-clearance areas, such as parking garages and drive-thru lanes, that may not accommodate a vehicle with a rooftop cargo box. This will prevent damage to your cargo box and your vehicle.
Tips for Driving Safely with a Rooftop Cargo Box
When driving with a rooftop cargo box, take your time and drive safely. Avoid abrupt stops and turns, and give yourself plenty of space to maneuver.
Conclusion
Packing a rooftop cargo box for camping can make your next camping trip more enjoyable. By following the tips and guidelines outlined in this guide, you’ll be able to pack your gear efficiently, safely, and securely. Remember to drive with caution and stay safe on the road. Happy camping!
