
Roof cargo boxes are a great way to carry extra gear on road trips, camping trips, or any other outdoor adventure. However, they can be quite expensive, and a cracked or damaged box can render it useless. Fortunately, with the right tools and techniques, it is possible to repair a cracked roof cargo box at home. In this comprehensive guide, we’ll show you how to fix a cracked box quickly and easily.
How to Fix a Cracked Roof Cargo Box
Learn how to fix a cracked roof cargo box with this comprehensive guide:
– Assess the damage, determine the extent of the damage, and identify the type of material.
– Gather the right tools and materials, including fiberglass cloth and epoxy resin, plastic welding, and safety gear.
– Clean the damaged area, apply the repair material, sand and buff the repair, apply a protective coating, and test the repair to restore your cargo box’s strength.
Assess the Damage
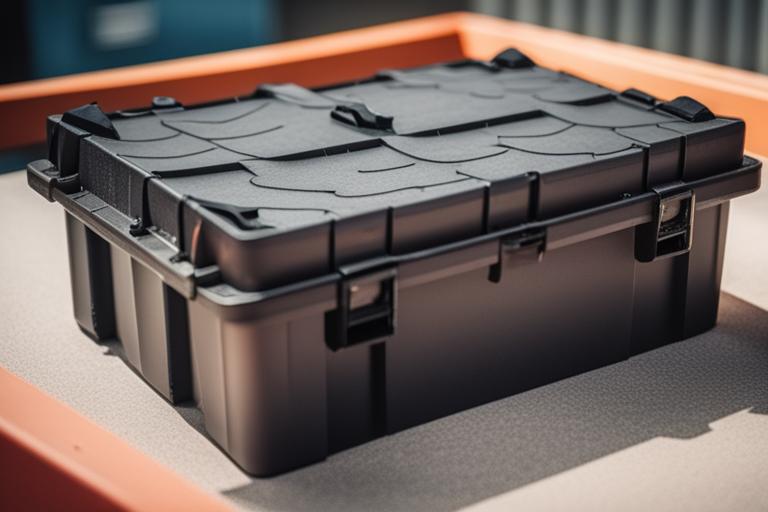
Before you begin the repair process, it’s important to assess the damage to your cargo box. This will help you determine the extent of the damage and the type of material you’re working with. Here are the steps to follow:
A. Inspect the Cargo Box
Start by inspecting the cargo box carefully. Look for cracks, holes, or any other signs of damage. Take note of the location and size of the damage.
B. Determine the Extent of the Damage
Next, determine the extent of the damage. Is it a small crack or a large hole? Is the damage limited to one area, or is it spread out across the box? This will help you decide what repair materials you’ll need.
C. Identify the Type of Material
Finally, identify the type of material your cargo box is made of. This will help you choose the right repair materials. Most cargo boxes are made of plastic or fiberglass.

Gather the Right Tools and Materials
Once you’ve assessed the damage, it’s time to gather the right tools and materials for the repair. Here’s what you’ll need:
A. Fiberglass Cloth and Epoxy Resin
For most repairs, you’ll need fiberglass cloth and epoxy resin. These materials are strong, durable, and easy to work with. Fiberglass cloth is a thin, woven fabric that is used to reinforce the repair area. Epoxy resin is a two-part adhesive that is used to bond the fiberglass cloth to the damaged area.
B. Plastic Welding
If your cargo box is made of plastic, you may also need a plastic welding kit. This kit will allow you to melt the plastic and fuse it back together. Plastic welding is a bit more complicated than using fiberglass cloth and epoxy resin, but it can be a good option for certain types of damage.
C. Other Repair Materials
Depending on the extent of the damage, you may need other repair materials, such as sandpaper, filler, or paint. These materials will help you smooth out the repair area and make it blend in with the rest of the box.
D. Safety Gear
Finally, don’t forget to wear safety gear while you’re working on your cargo box. This should include gloves, safety glasses, and a dust mask.
Clean the Damaged Area
Before you start applying the repair material, you’ll need to clean the damaged area thoroughly. Here’s how:
A. Remove Any Debris
Start by removing any debris from the damaged area. This could include dirt, dust, or any other loose material.
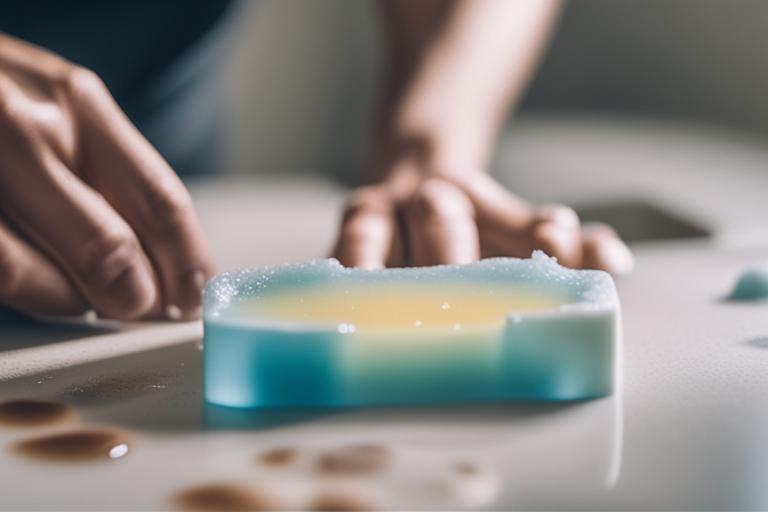
B. Clean the Area with Soap and Water
Next, clean the area with soap and water. Use a soft brush or sponge to scrub the area gently. This will help remove any dirt or grime that may be stuck to the surface.
C. Dry the Area Thoroughly
Finally, make sure the area is completely dry before you start applying the repair material. Use a clean, dry cloth to wipe away any remaining moisture.
Apply the Repair Material
Now it’s time to apply the repair material to the damaged area. Here’s how:
A. Prepare the Repair Material
Start by preparing the repair material. If you’re using fiberglass cloth and epoxy resin, mix the resin according to the manufacturer’s instructions. Cut the fiberglass cloth to the right size and shape for the repair area.
B. Apply the First Layer
Apply the first layer of repair material to the damaged area. If you’re using fiberglass cloth and epoxy resin, lay the cloth over the damaged area and brush the resin onto the cloth. Make sure the cloth is completely saturated with resin.
C. Apply Subsequent Layers
Apply subsequent layers of repair material until the damaged area is completely covered. Make sure each layer is completely dry before applying the next one.
D. Smooth the Surface
Once the repair material is dry, use sandpaper or a sanding block to smooth out the surface. This will help the repair blend in with the rest of the box.

Sand and Buff the Repair
After the repair material has dried, it’s time to sand and buff the repair. Here’s how:
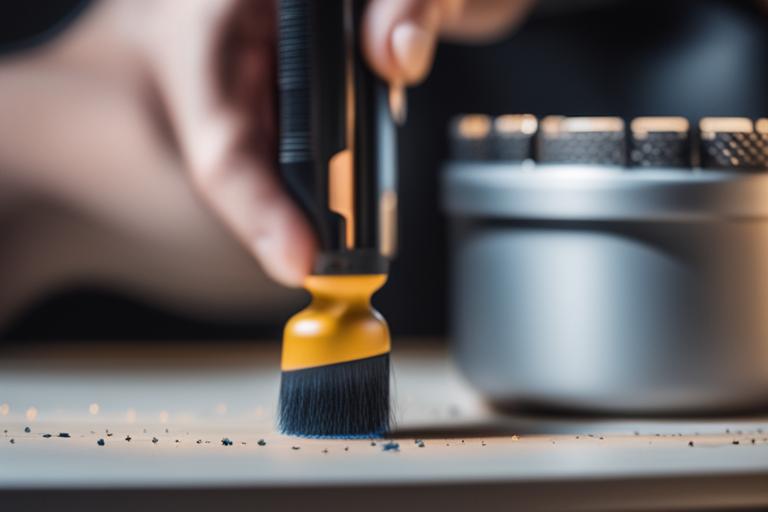
A. Sand the Surface
Start by sanding the surface of the repair area. Use a fine-grit sandpaper to smooth out any rough spots or bumps.
B. Buff the Surface
Next, use a buffing wheel or a soft cloth to buff the surface of the repair area. This will help bring out the shine and make the repair blend in with the rest of the box.
C. Check for Smoothness
Finally, check the surface of the repair area to make sure it’s completely smooth. If there are any rough spots or bumps, sand and buff them until they’re smooth.
Apply a Protective Coating
To protect your cargo box from further damage, it’s a good idea to apply a protective coating to the repair area. Here’s how:
A. Choose the Right Protective Coating
Choose a protective coating that is designed for the type of material your cargo box is made of. For example, if your box is made of plastic, choose a plastic-friendly coating. If your box is made of fiberglass, choose a fiberglass-friendly coating.
B. Apply the Protective Coating
Apply the protective coating to the repair area according to the manufacturer’s instructions. Make sure the area is completely dry before using your cargo box again.
Personal Story: A DIY Success Story
I’ve always been a DIY enthusiast and when my roof cargo box developed a crack, I knew I could fix it myself. I followed the steps in this guide and was able to repair the box in no time.
After assessing the damage, I gathered the necessary tools and materials, including fiberglass cloth and epoxy resin. I cleaned the damaged area thoroughly and applied the repair material, layer by layer, smoothing the surface as I went along. Once the repair was complete, I sanded and buffed the surface and applied a protective coating.
I was a bit nervous about testing the repair, but it held up perfectly during a long road trip with all our gear safely secured in the cargo box. I was thrilled that I was able to save money by fixing the box myself and extend its lifespan.
This experience taught me that with the right tools, materials, and techniques, even seemingly daunting repairs can be tackled at home. And the sense of pride and satisfaction from a job well done is priceless.
Test the Repair
Before you hit the road, it’s important to test the strength of the repair. Here’s how:
A. Inspect the Repaired Area
| Tip | Description |
|---|---|
| Load the box evenly | Distribute weight evenly to prevent stress on one area of the box. |
| Secure the cargo | Use tie-downs or straps to secure the cargo in the box and prevent it from shifting during transport. |
| Avoid overloading the box | Don’t exceed the weight limit of the cargo box. Overloading can cause stress and damage to the box. |
| Drive carefully | Avoid sudden stops, turns, and rough roads that can cause the cargo box to bounce and shift. |
| Clean the box regularly | Dirt, debris, and moisture can weaken the box over time. Clean it regularly to prevent damage. |
| Store the box properly | Store the box in a dry, cool, and sheltered area when not in use to prevent damage from the elements. |
Inspect the repaired area carefully to make sure it’s completely smooth and free of any cracks or bumps.
B. Test the Strength of the Repair
To test the strength of the repair, you can pack your cargo box with some heavy items and take it for a short drive. Make sure to drive carefully and avoid any sudden stops or turns. If the repair holds up, your cargo box should be good to go.
Conclusion
Fixing a cracked roof cargo box may seem like a daunting task, but with the right tools and techniques, it can be done at home. By following these comprehensive steps, you can restore your cargo box’s strength and prevent further damage to your belongings. Remember to assess the damage, gather the right tools and materials, clean the damaged area, apply the repair material, sand and buff the repair, apply a protective coating, and test the repair. With these steps, you can save money and extend the life of your cargo box.